
What To Expect During A Shingle Roof Replacement
Replacing a roof is a major home improvement project but knowing what to expect can make the process easier. From the initial inspection to the final cleanup, each step helps ensure your new roof is properly installed and ready to protect your home.
1. The Initial Roof Inspection
A professional inspection determines the condition of your existing roof. Your contractor will check the shingles, flashing, roof decking, ventilation, and other components for signs of damage or deterioration. They may look for:
• Missing, cracked, or damaged shingles
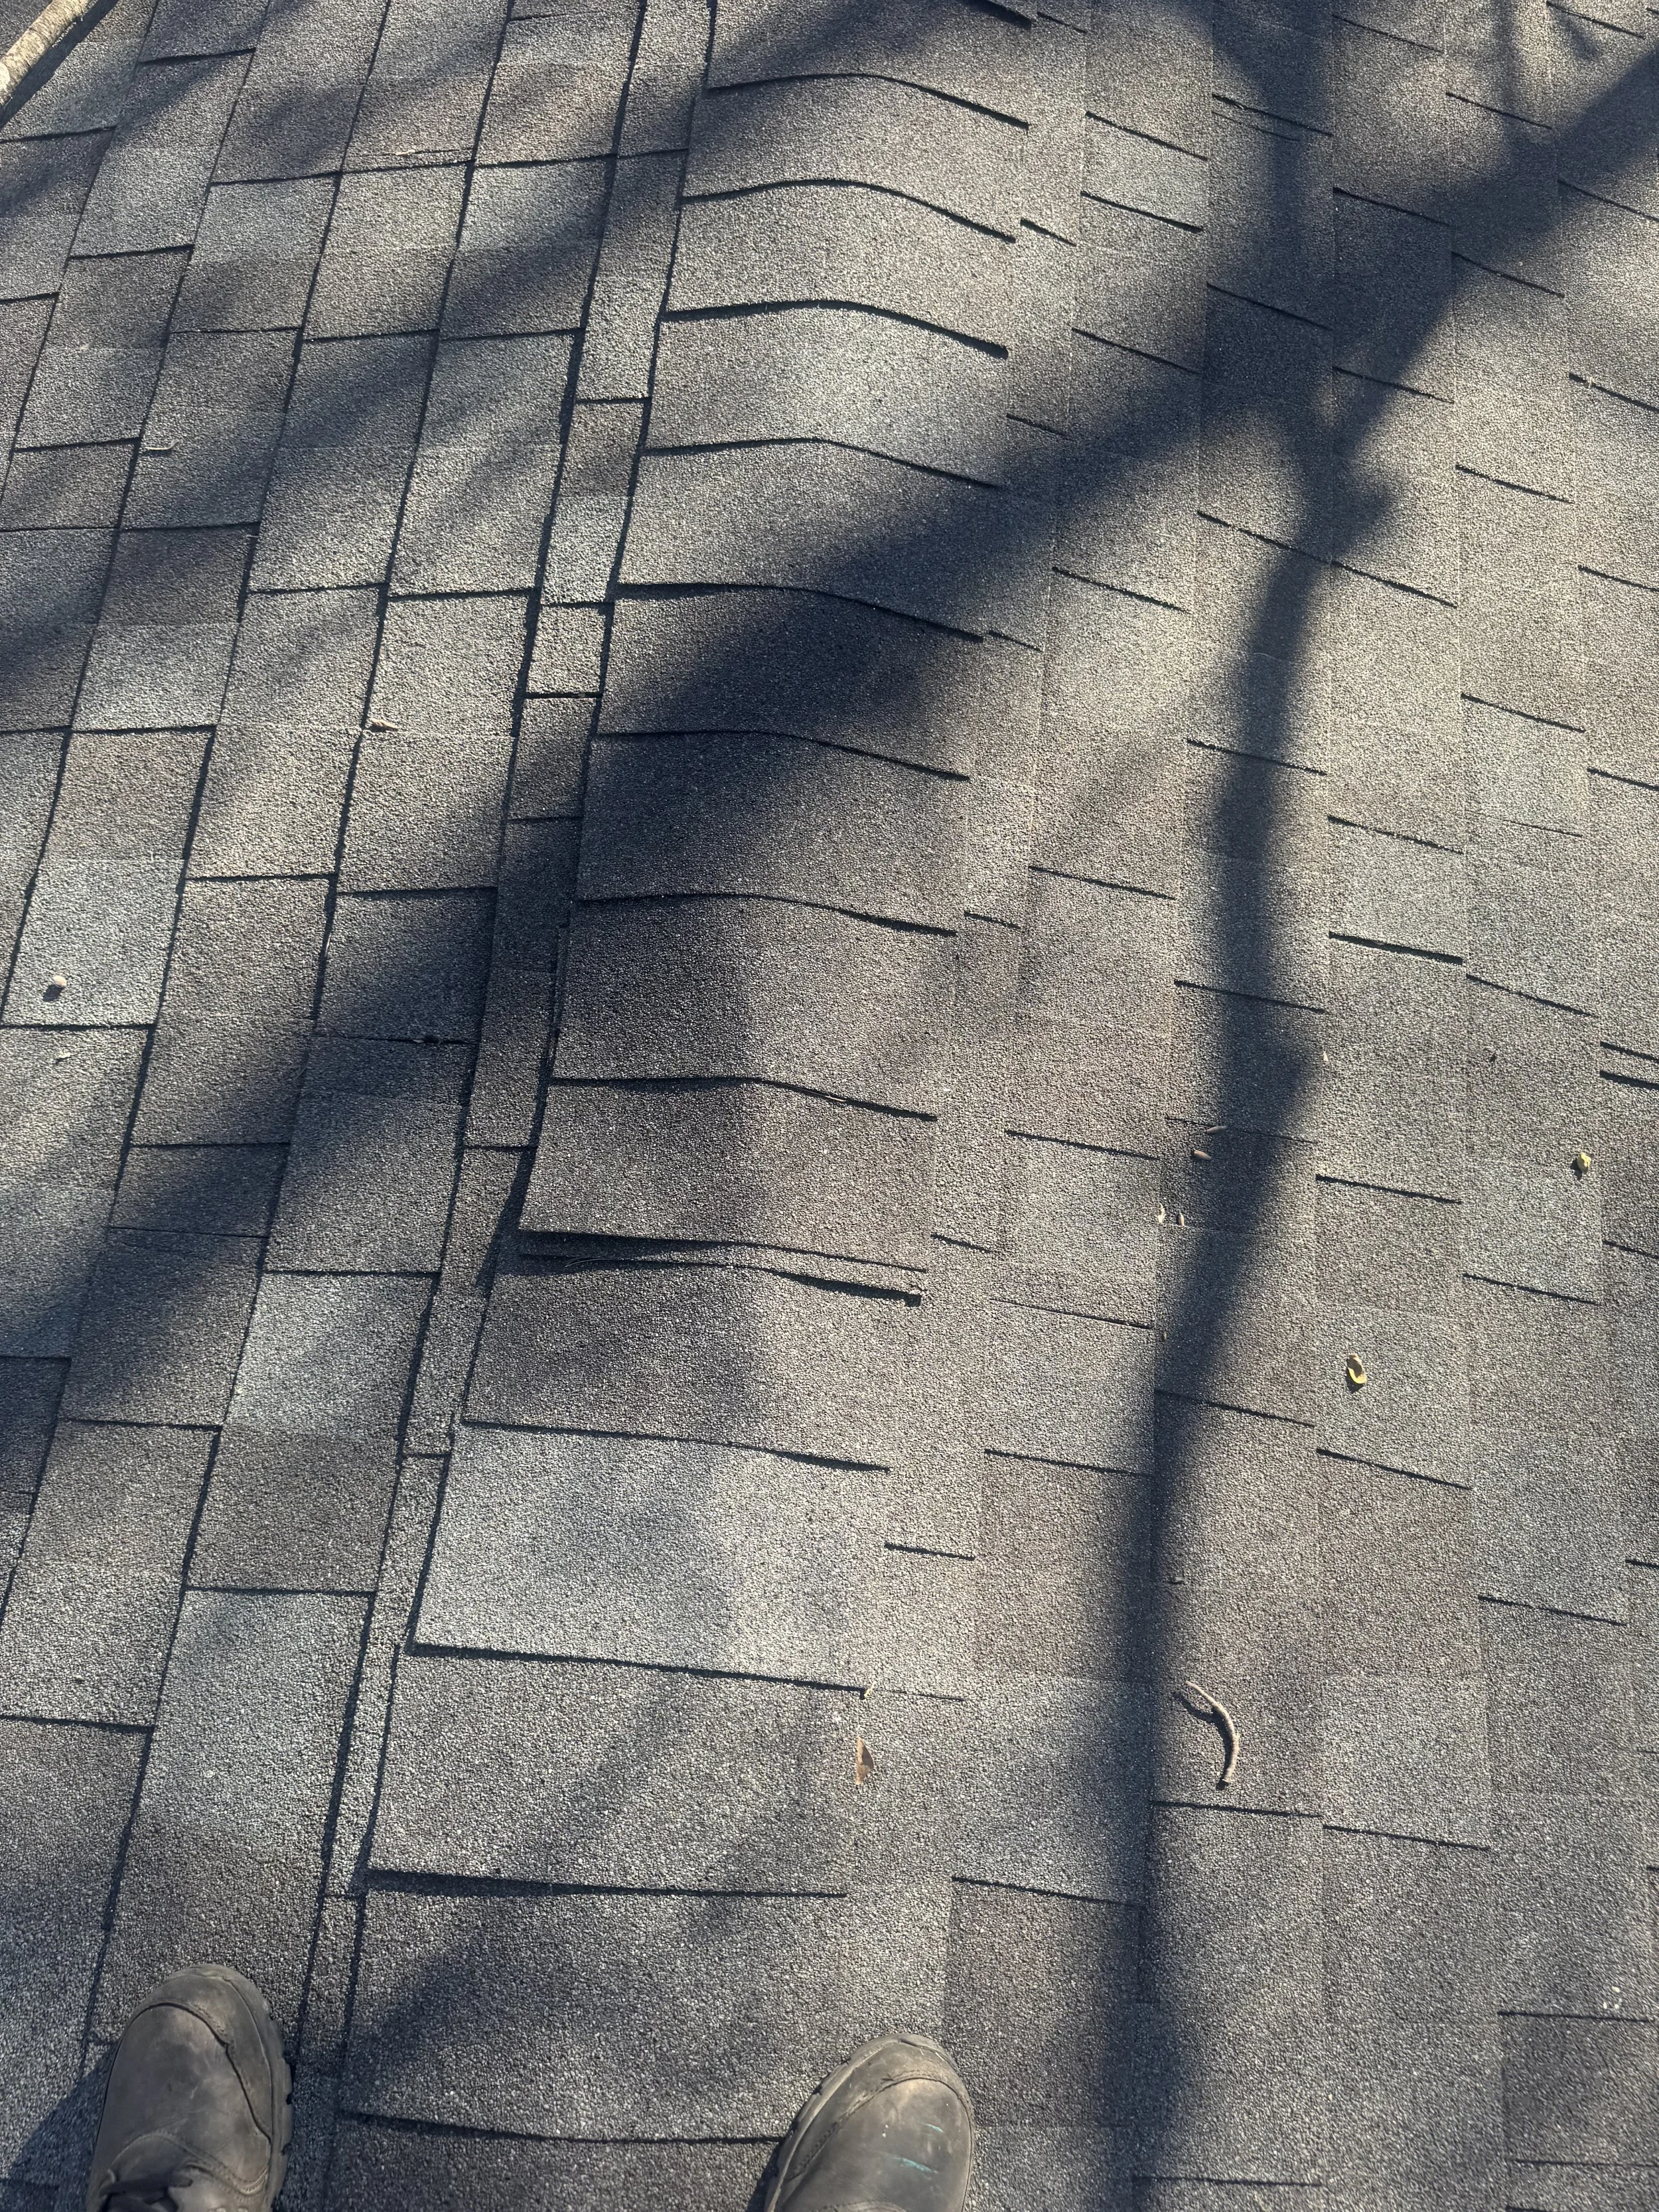
Shingle Roof Inspection
• Leaks or water stains
• Damaged flashing
• Sagging areas
• Deteriorated roof decking
• Poor attic ventilation
• Previous repairs
The inspection helps determine whether your roof needs to be replaced or if repairs may be sufficient. If you’re filing an insurance claim, this step is especially important because we’ll assess your roof for storm damage. If no storm damage is found, the process will continue as outlined below.
2. Choosing Your Roofing Material & Color
If replacement is needed, you'll choose your roofing materials based on factors such as durability, appearance, budget, climate, and expected lifespan. Your representative can help you select materials that suit your home's structure and needs.
3. Preparing Your Home
Roof replacement can create noise, vibrations, and debris. Before work begins, move vehicles away from the work area, secure fragile items, protect belongings in the attic, and keep children and pets away from the job site. It's best to let your representative know ahead of time if you have any preferences for where our team should park or if there are areas, we should be mindful of, such as recently planted grass or flowers.
4. Removing the Current Roof
The existing roofing materials are removed to expose the roof deck. This allows our team to identify damage that may not have been visible during the initial inspection.
5. Inspecting the Roof Deck
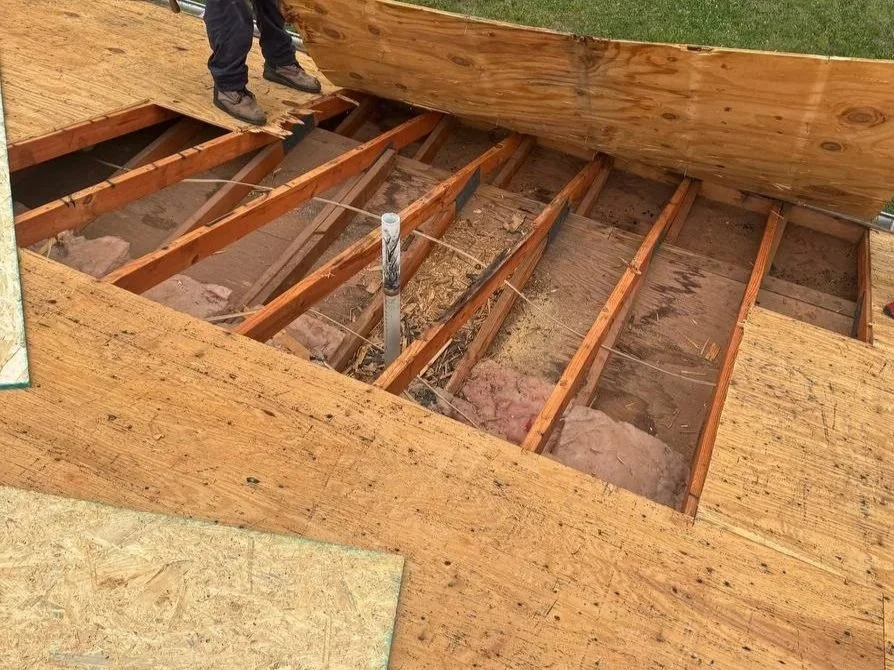
Roof Decking Inspection
Once the old roof is removed, the roof deck is inspected for moisture damage, rot, or deterioration. Damaged sections may need to be repaired or replaced before the new roof is installed. If a significant amount of your roof decking is damaged, your representative will contact you to discuss the necessary repairs and any additional costs for materials and labor.
6. Installing the New Roofing System
The new roofing system is installed according to proper installation practices and manufacturer specifications. Depending on the system, this may include:
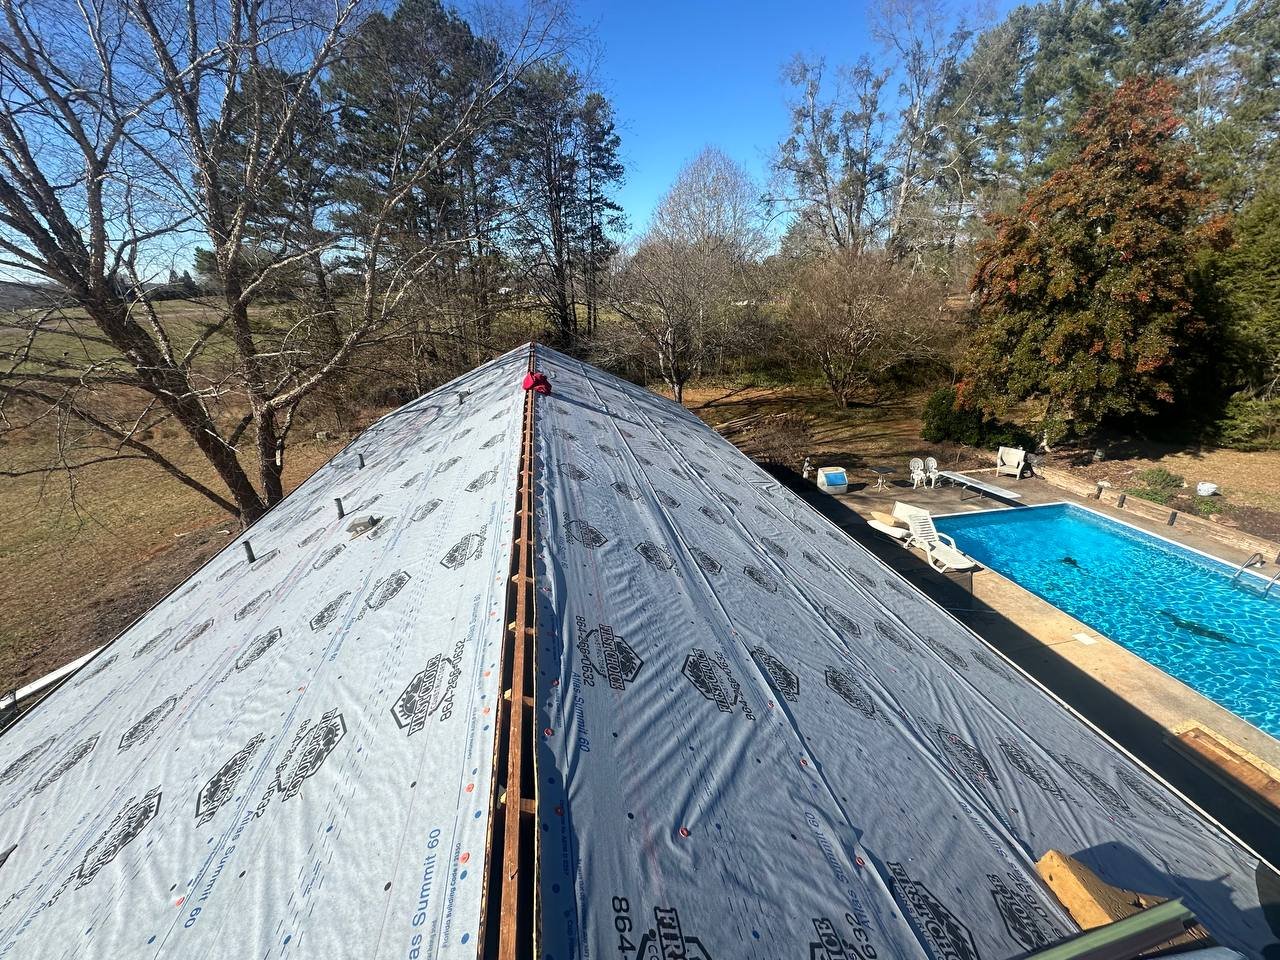
Underlayment Installed on Roof
Underlayment
Drip edge
Flashing
Starter Shingles
Shingles
Ridge Caps
Ice & Water Shield
Chimney Flashing (if applicable)
Ventilation Components (Each component works together to protect your home from weather and water.)
7. Final Inspection and Cleanup
After installation, your representative will inspect the completed roof, and our team will clean up the surrounding area removing any old materials and debris.
Conclusion
Understanding the roof replacement process can help homeowners prepare for the project and know what to expect without any surprises. One of our professional roofing representatives can evaluate your roof, recommend the appropriate solution, and ensure the new system is properly installed. If you think your roof may need an inspection or replacement, don’t hesitate to give us a call or schedule an appointment online.
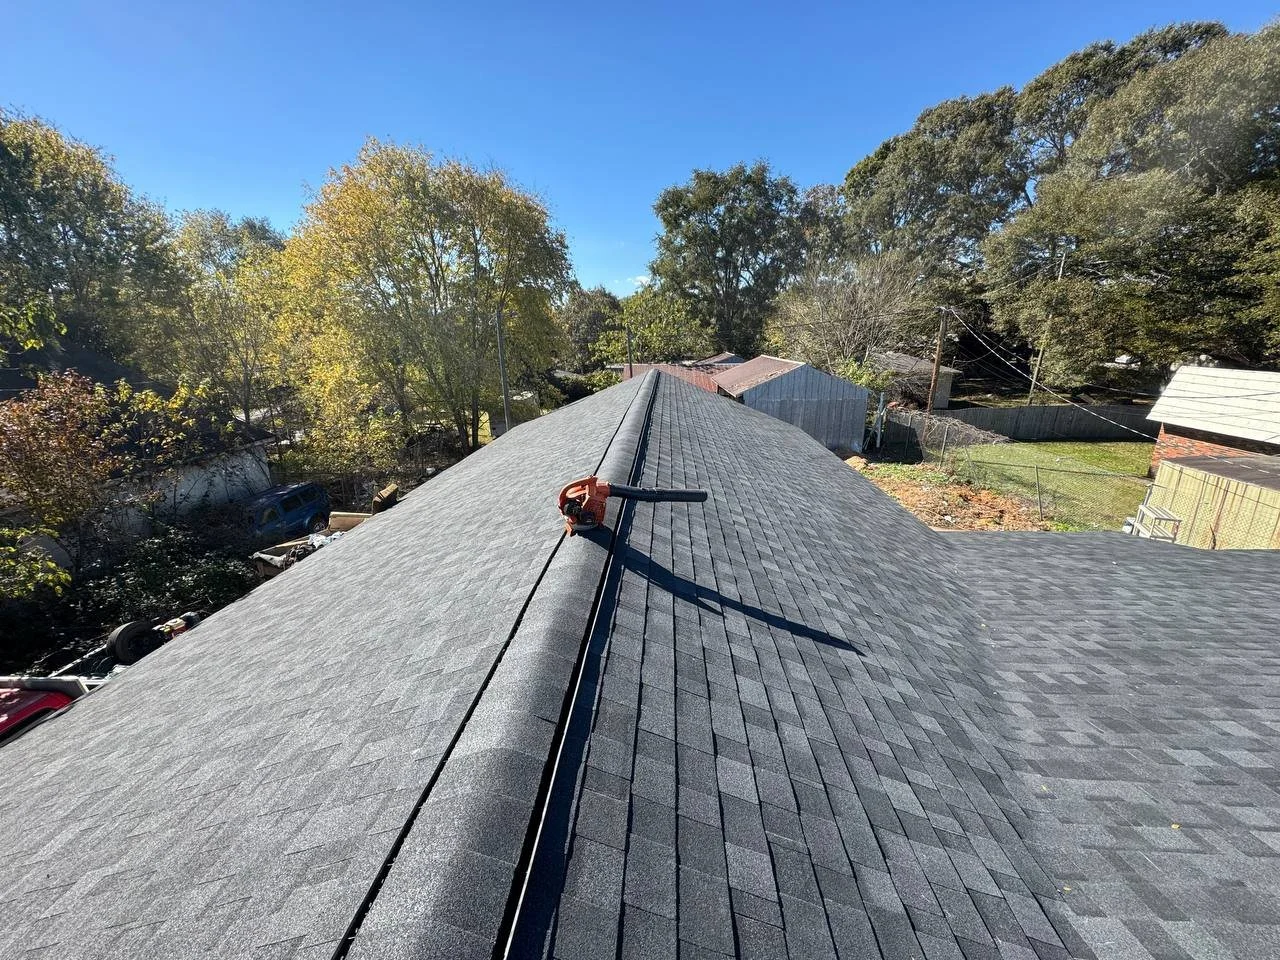
Completed Roof Replacement